How to Get Amazing Standing Splits
Power up your split training with this challenging but accessible pose!
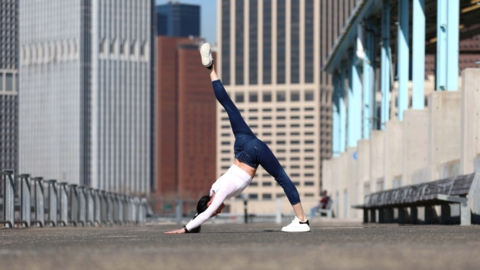
Standing Split is a great pose to start working on no matter what level you are. It’s a vertical position that will help you build greater strength and stability that you can later apply to your splits on the floor.
We’ll walk you through some tips and technique cues to help you achieve your best Standing Splits (remember to practice both sides!). Then we'll end with a super fun tutorial you have to try. Ready to rock your Standing Splits? Let’s do this!
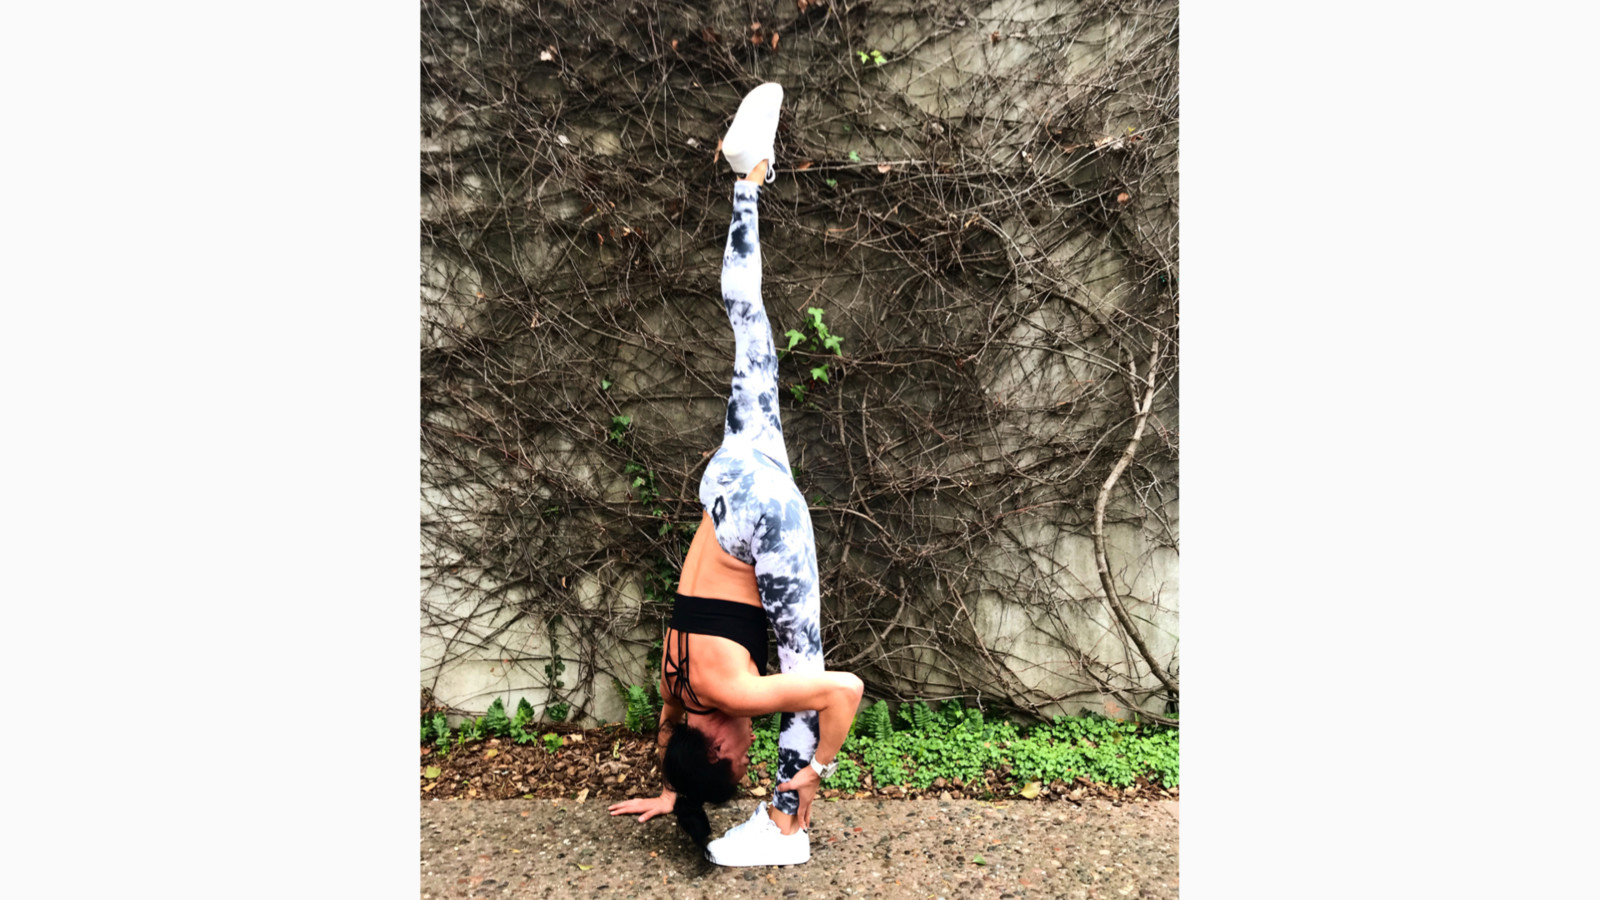
Standing Splits will stretch your hamstrings, strengthen your glutes, and improve your balance. Start by watching this video for a visual cue on different variations/exercises and beginner modifications.
When you’re ready to try your Standing Split pose, or if you’ve been practicing for a while and want to go deeper, use the tips below to practice safely and effectively.
- Actively engage your glutes to squeeze the back leg higher.
- Turn-out/externally rotate your back leg for a greater range of motion.
- Stick your butt out/tilt your hips back to get deeper into the standing leg hamstring stretch.
- Reach your belly button for your thigh as you fold forward.
- Start with an arched spine and then tuck your chin towards your chest as you fold forward, deepening your fold and lengthening the back of the neck.
- Try pressing your weight back into your standing heel to get more extension from your bottom knee.
- Flex the top foot and reach your heel to the ceiling, creating length and engaging the entire leg.
- Add dynamic movement of the top leg such as large leg circles, pulses, and kicks to increase the active range of motion and to build strength.
- If accessible, use your hands to grab your bottom leg and pull your chest closer to your standing leg.
- Engage your standing thigh/quad to protect your bottom knee and promote a strong and stable base.
FYI—Standing Split is a great pose for your Instagram photos! You can pretty much do it anywhere. If you’re new to the pose, try it near something you can balance on, like a wall, chair, bench, or something else that will be there in case you need to suddenly need to reach out for support.
You can also always opt for the downward dog variation of Standing Split if you need help with the balance. It's the same pose but with the hands further away from the standing leg.
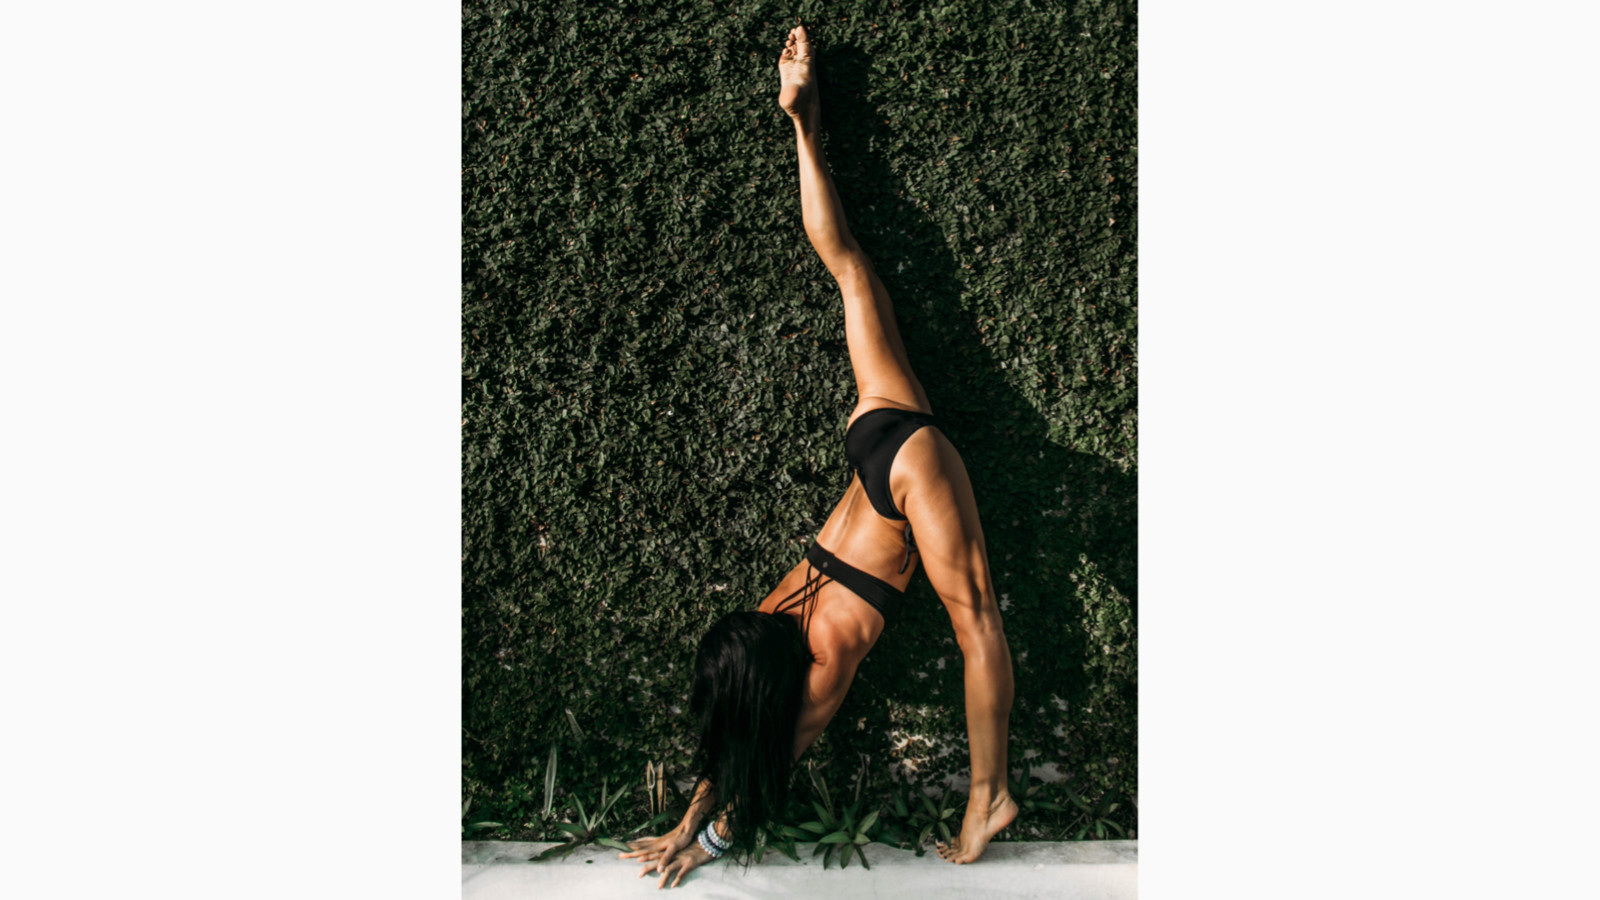
But What About Square Hips?
A square hip position is best for your regular splits training on the ground (you’ll train square hips in your STRETCHIT classes!). Squaring your hips is particularly important when adding load/weight/pressure because it’s more balanced and more "correct" from an anatomical standpoint. The stretch is more balanced and even for your hips and hamstrings.
In your Standing Splits and downward dog splits, both hip positions (open and square) are safe and acceptable. With open hips, the back leg is externally rotated rather than square. You'll have a greater range of motion with the back leg externally rotated because of how the bones in the hip socket fit together. It's not a dangerous position in itself. Just make sure you’re taking the time to train with square hips in order to balance the open hip position that you use when you do Standing Splits.
Unlock Your Balance with Deep Breathing
So, how do you balance in Standing Splits? If you’re a beginner, keeping something nearby for balance (also: scroll down and check out the wall-assisted Standing Splits tutorial!). But no matter what level you are: breathe, breathe, breathe! When your head gets upside down it’s easy to hold the breath, causing your checks to grow flush and your body to stay taut with tension (we’ve all been there!). Breathing deeply and calmly will help you tune into your body and make the micro-adjustments you need in order to steady your balance. Focusing on your breath will also help you calm the nervous system, allowing you to go deeper into the pose.
"Settings goal is the first step in turning the invisible into the visible.”
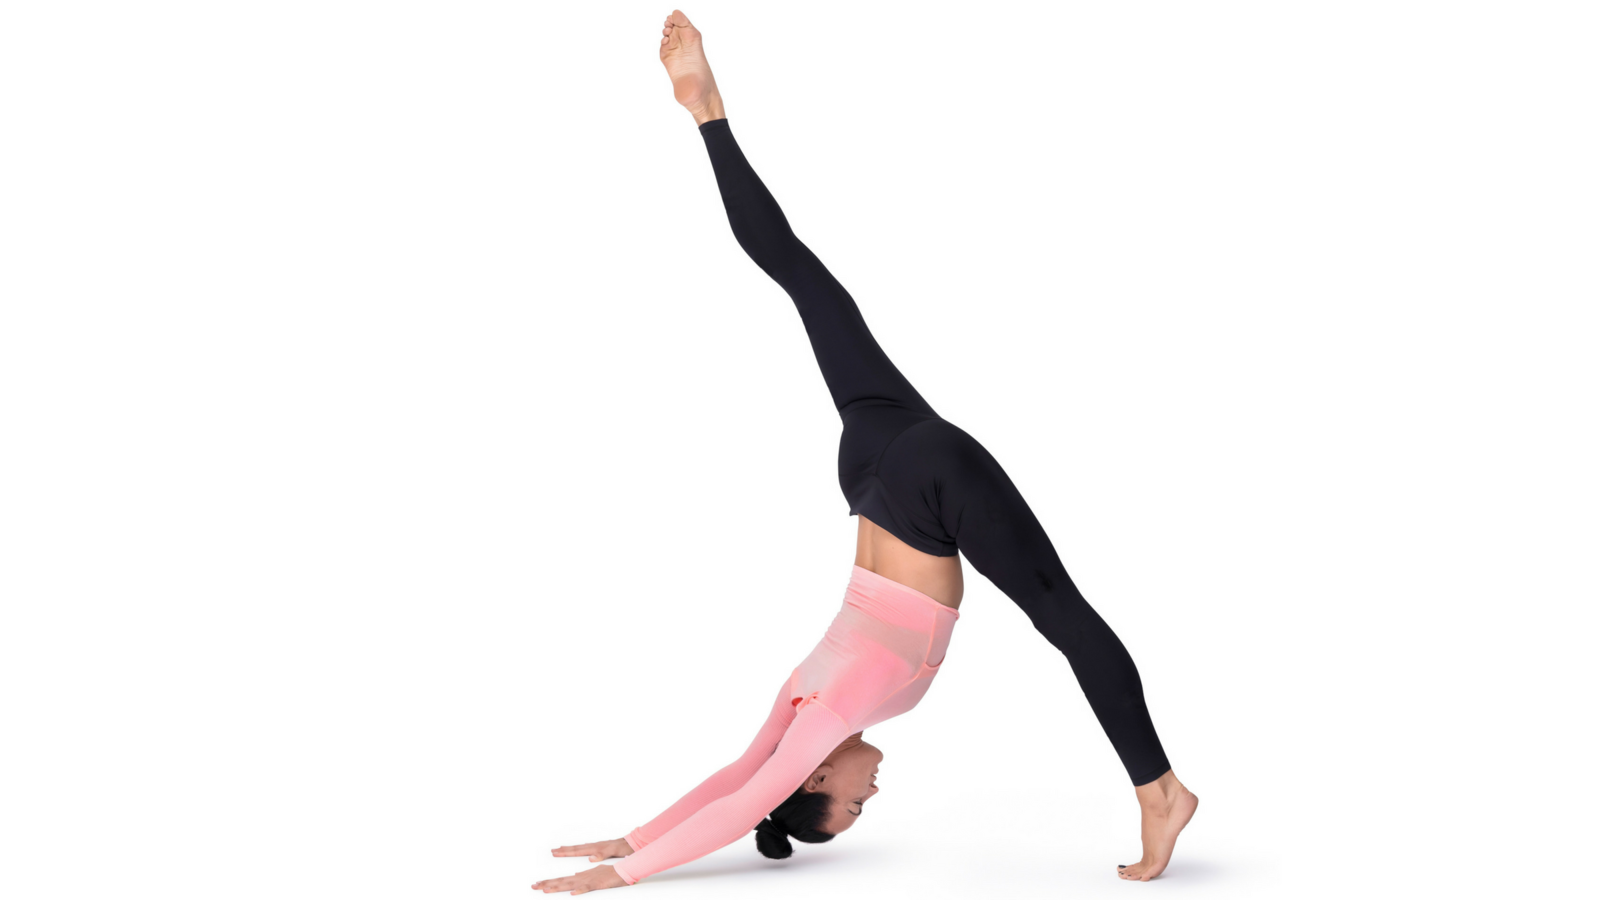
Ready to set a goal to improve your Standing Splits? Join the Standing Splits Challenge at any time—it’s 30 days of classes curated to help you work on this pose. It’s an awesome challenge for all levels. The classes will help you activate and strengthen your legs, improve your coordination and balance, and prepare you for your best Standing Splits yet.
If you’re doing the Challenge now, keep up the great work! If you’re new to stretching—the Challenge is a great place to start!
“You don’t have to be great to start, but you have to start to be great.”
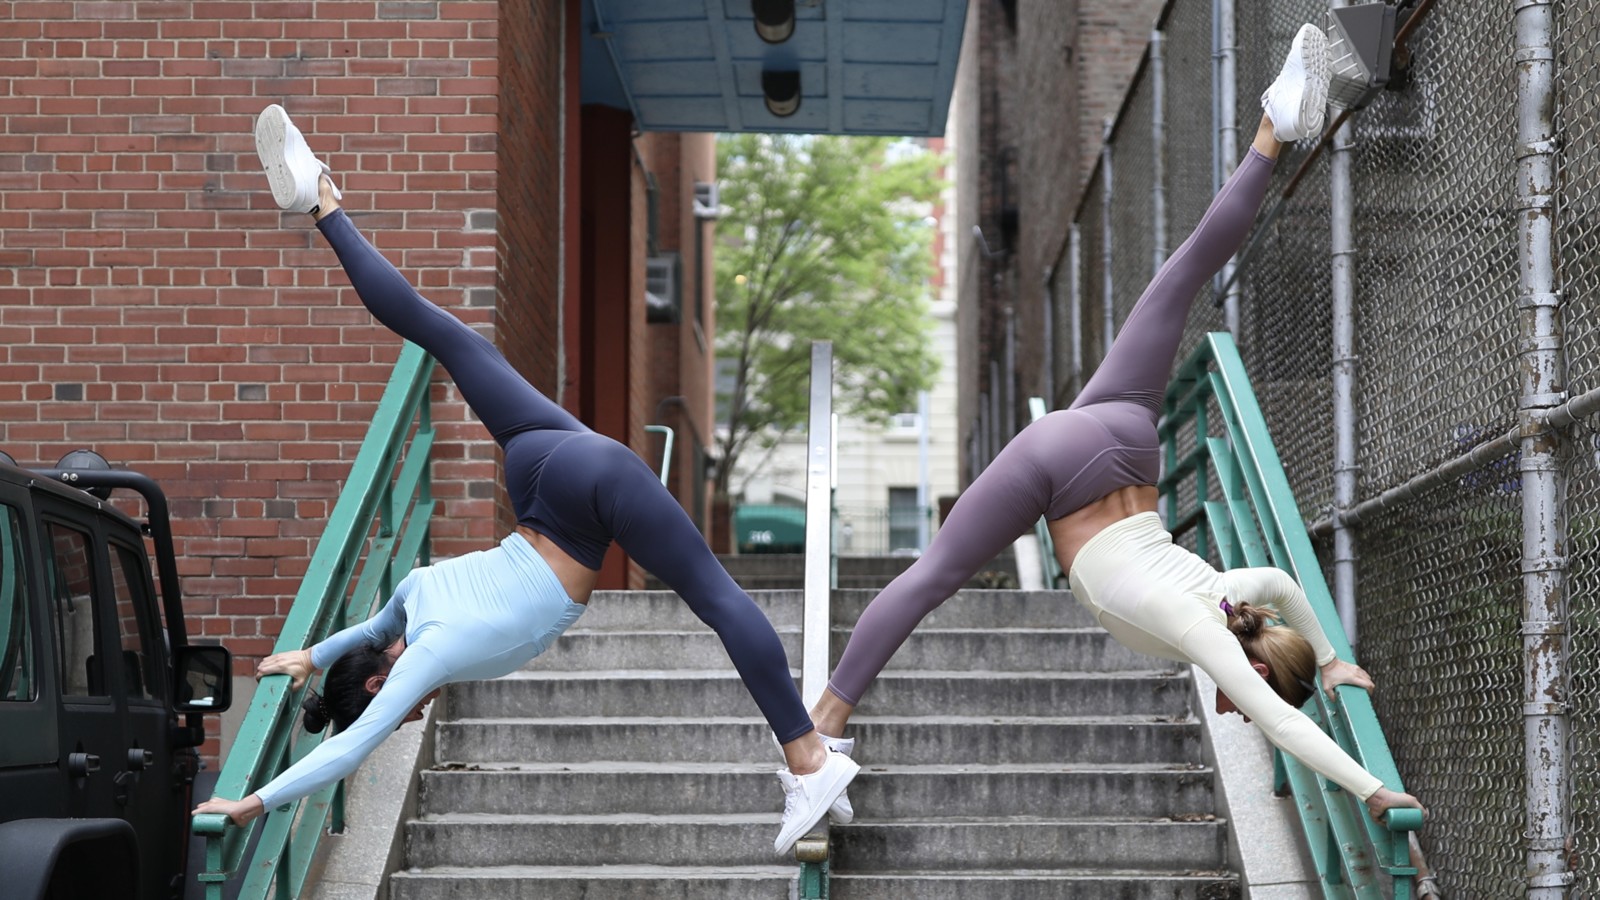
BONUS! Wall-Assisted Standing Split Tutorial
We posted this tutorial for the wall-assisted Standing Split on Instagram a while back and it was a hit. You can do this in your home or take it outside against a brick wall or another pretty background. Try it and tag us in your photos! #stretchitapp @stretchitapp
It’s one of those poses that looks tricky but is easier than you think. And, there are some adjustments you can make depending on your level of flexibility. *Spoiler alert!* You don’t need to be flat in your splits to make it look great. Check out the photos for the step-by-step instructions and read the detailed explanation below.
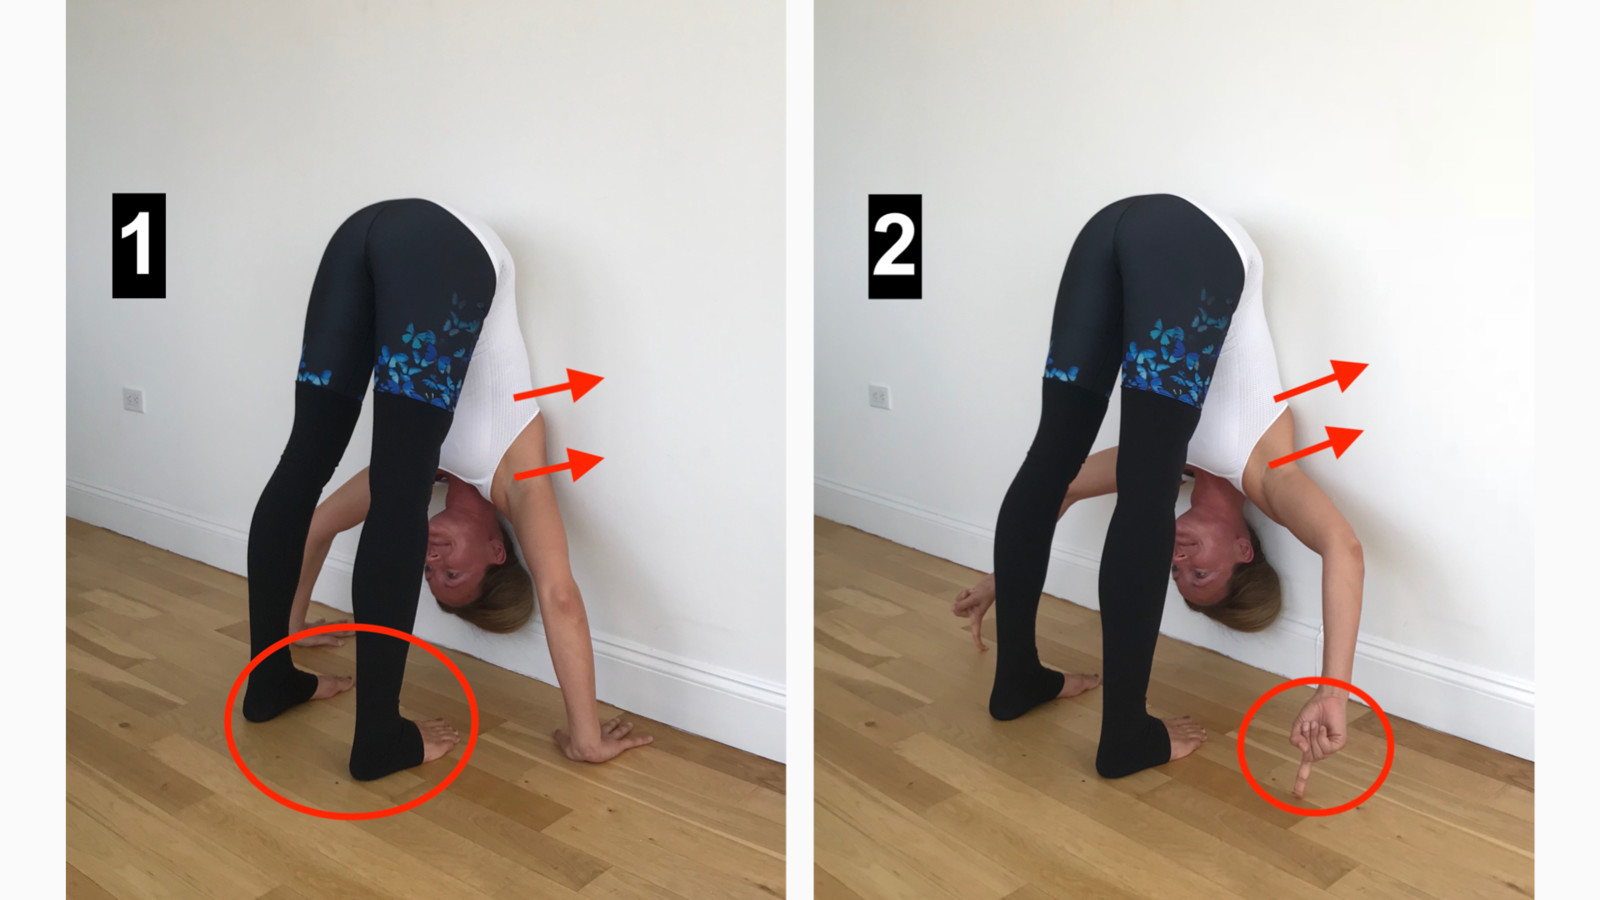
Step 1
Practice your forward fold against a wall.
- Focus on getting as much contact with the wall and press into the wall with your back. If you only manage to reach the wall with your upper back, it’s totally fine. Press the wall away with your back to create pressure and stabilize yourself.
- The closer your feet are to the wall, the more flexibility you need. Start about 12 inches from the wall, see how it goes, and adjust accordingly. Your heels should stay on the floor the whole time.
- Arms are rather relaxed (it’s not a handstand).
Step 2
Keep pressing into the wall with your upper-back and check your balance. Keep light pressure with your fingers on the floor.
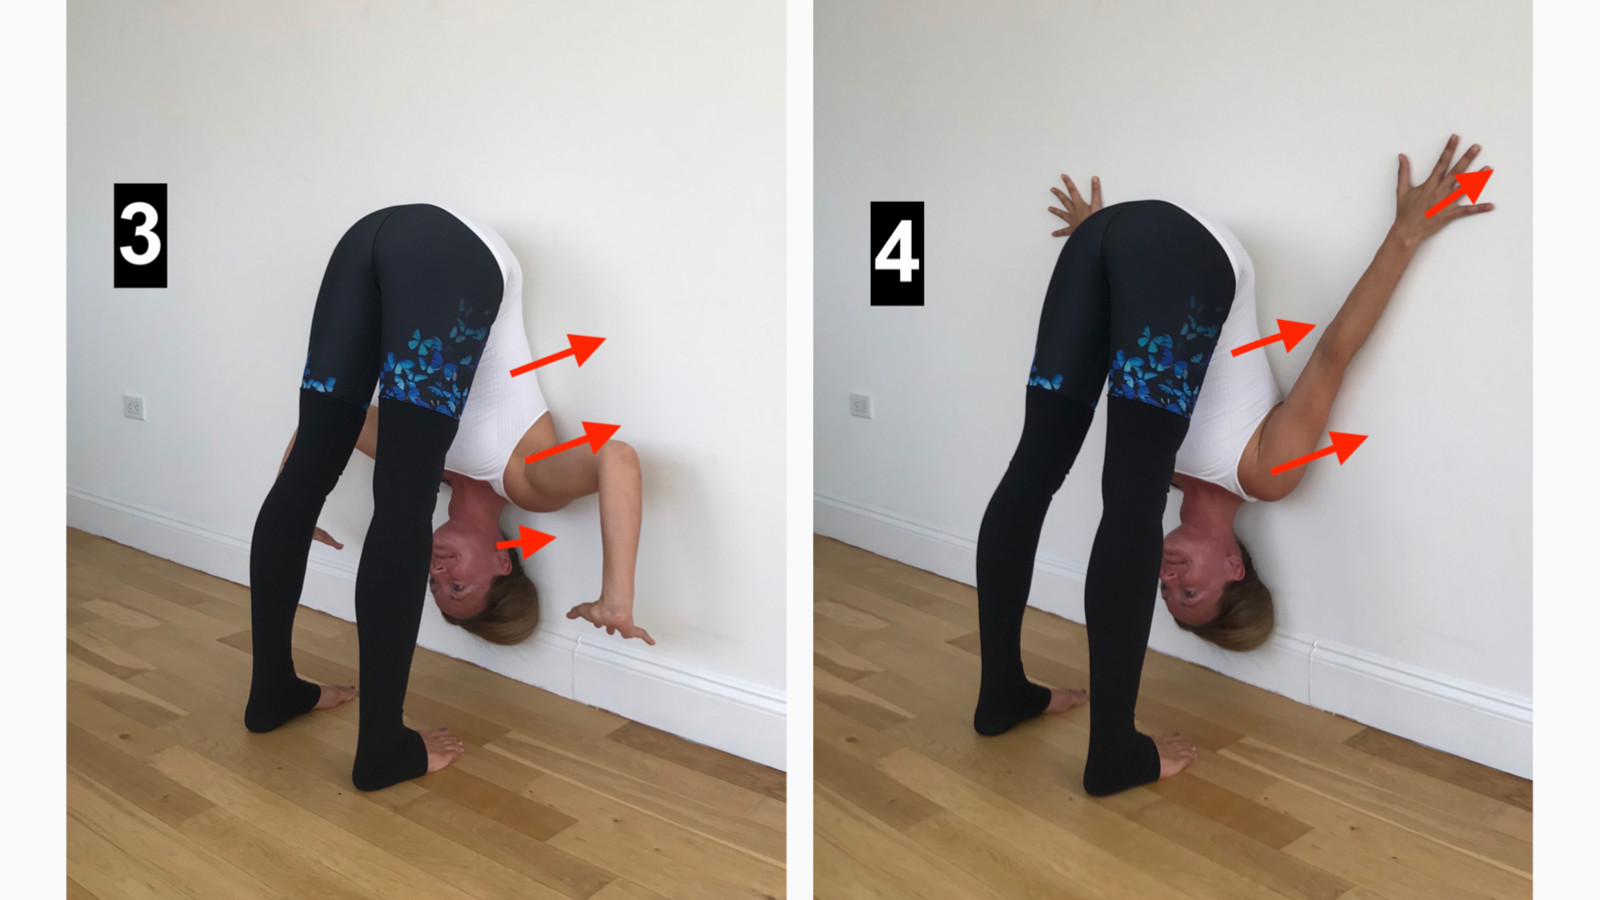
Step 3
If your balance feels stable, raise your hands off the floor.
Step 4
If you’re feeling comfortable with your hands off the ground, move your hands on the wall behind you. Press into the wall with your back and your hands. Practice steps 1-4 until you feel comfortable here.
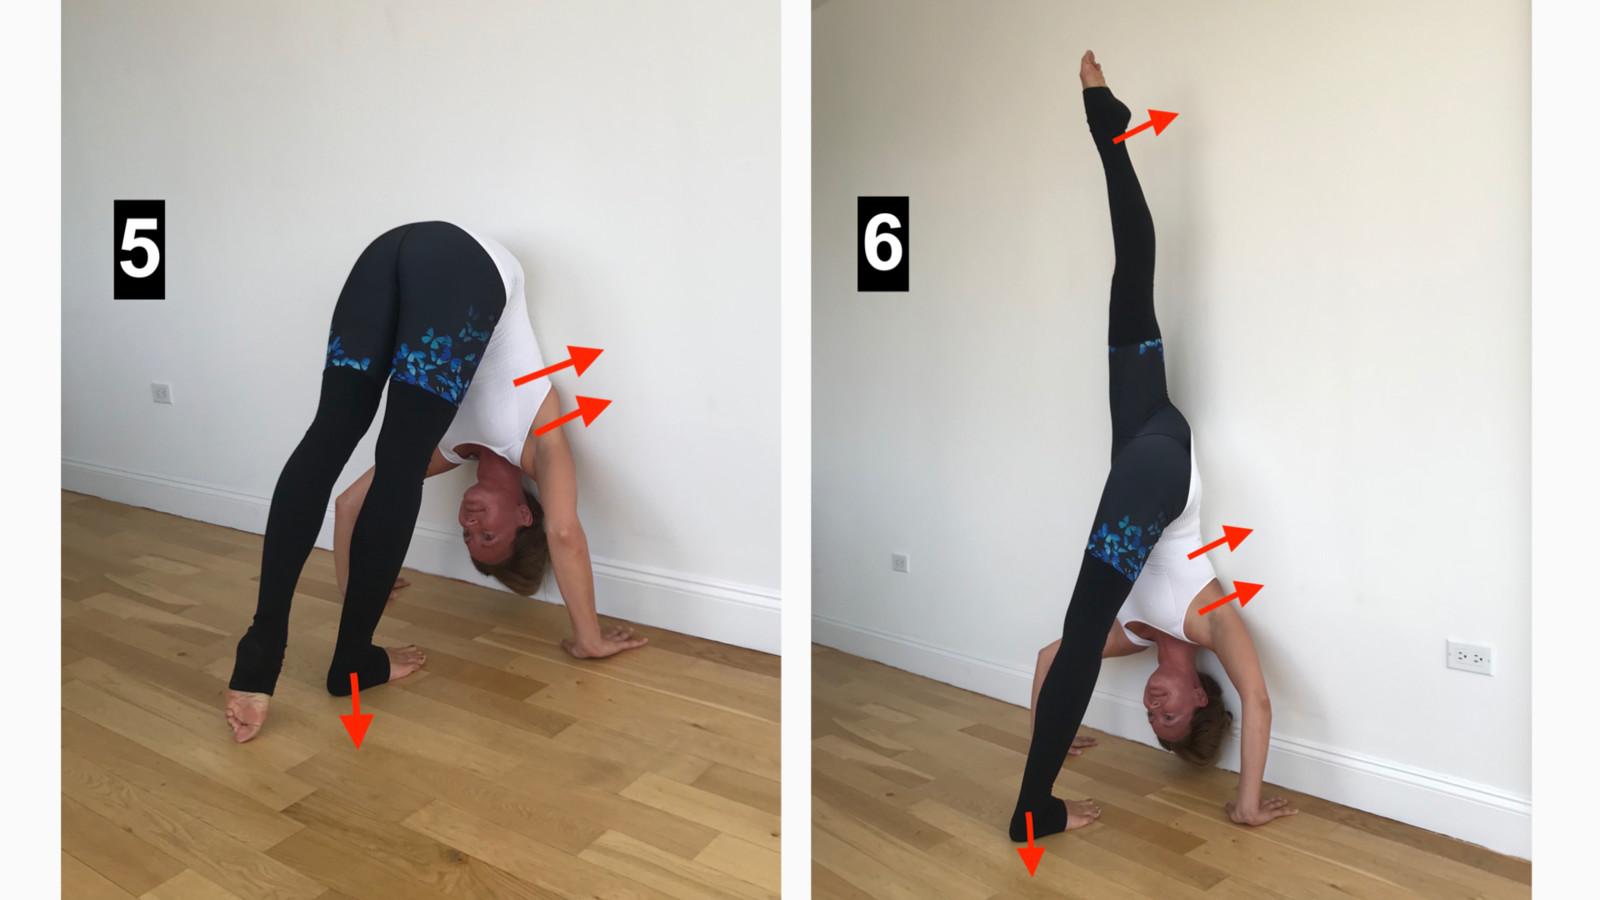
Step 5
Bring your hands back to the floor and shift your weight to one leg. If your legs were too far apart, you may need to adjust your position. Make sure you keep pressing your back into the wall.
Step 6
Keep your hands on the floor and raise your leg. Your leg does not need to reach the wall (see in the photos, Marina is not in her full split). The more you press your back into the wall, the more stable you’ll feel.
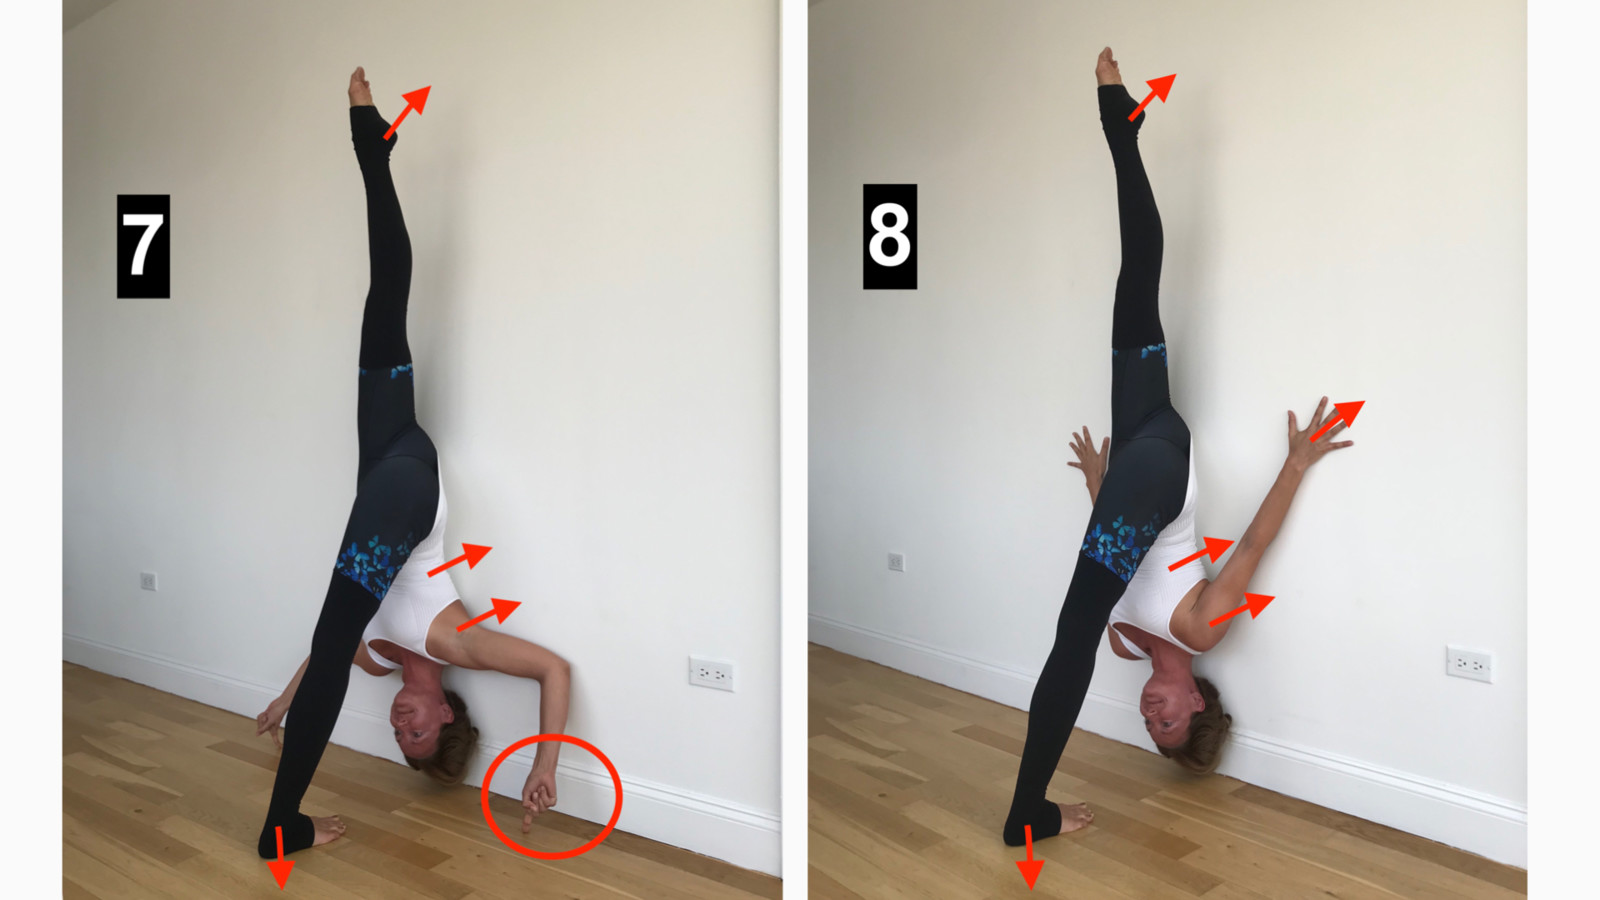
Step 7
If that feels good, test your balance, keeping your fingers on the floor.
Step 8
If you feel comfortable here, you can place your hands (one after another) on the wall. The more you press into the wall with your back and your hands, the easier it is to keep your balance.
Enjoy these tips and have fun with your Standing Splits!
"Goals are not only absolutely necessary to motivate us. They are essential to really keep us alive.”

