How to Get Your Best Middle Split
The Guide to Getting (or Improving) Your Middle Split!
Getting your middle split can sometimes feel like an elusive dream destination. You know you want to go there, but it feels out of reach and you might find yourself arguing against it— “it’s so far away,” “it takes too much effort,” “(sigh)…it’s just a dream and I should forget about it.”
Well, we get it—we’ve been there too! But believe us: you can tell those naysayers in your head to “shush!” because we have proven tips to help you make major progress on your middle split. Read on to find out how to train your middle split safely and effectively.
"Begin, be bold, and venture to be wise.”
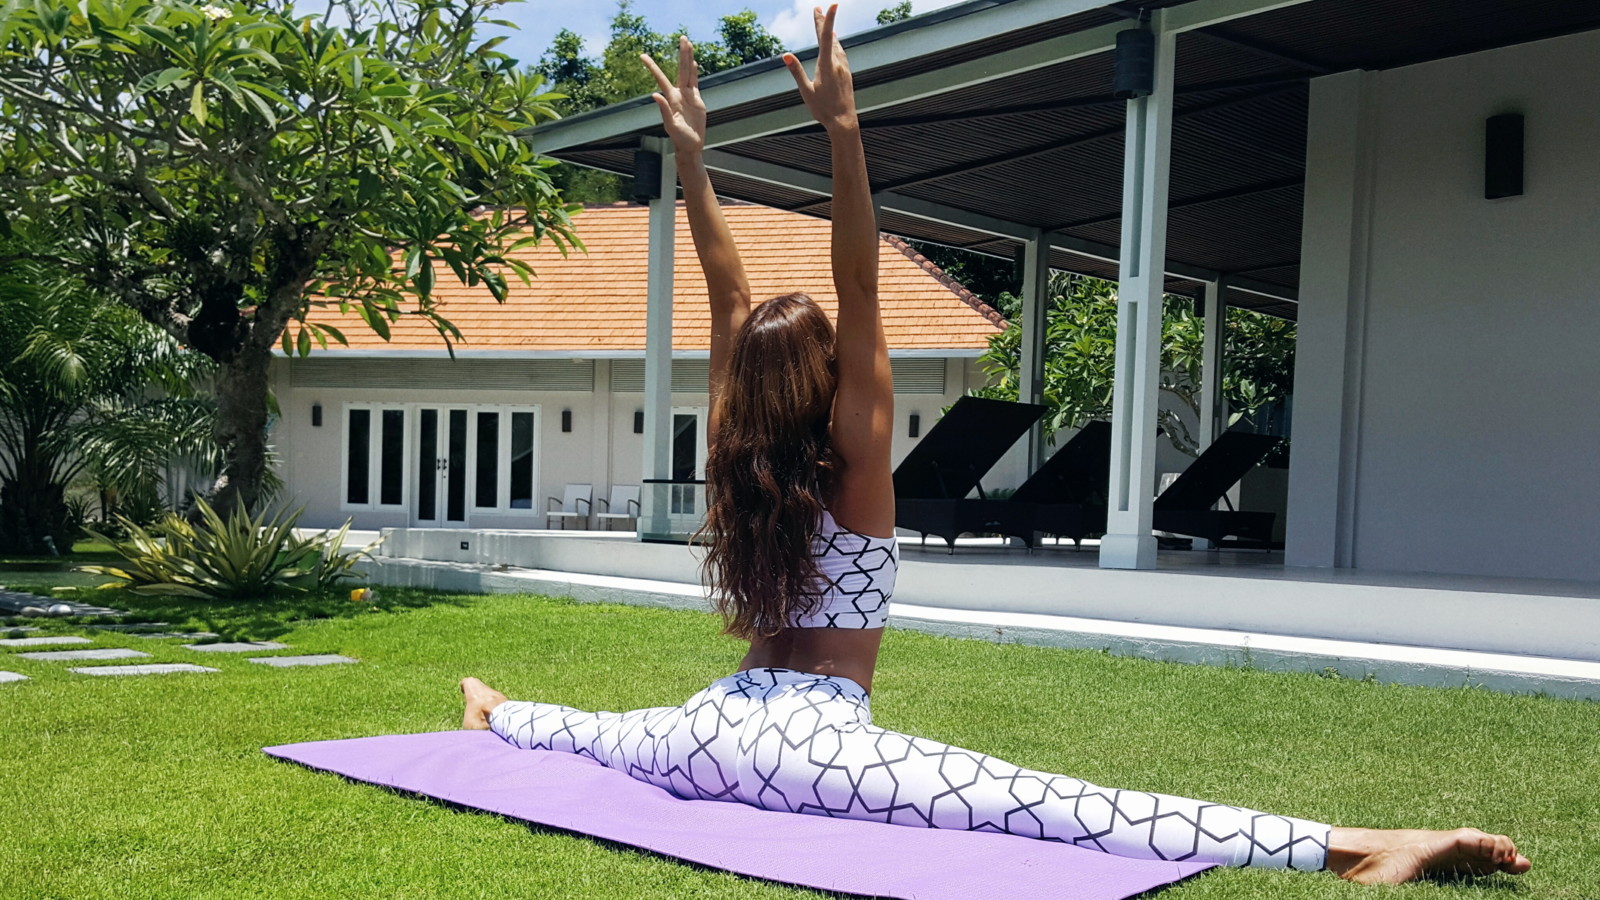
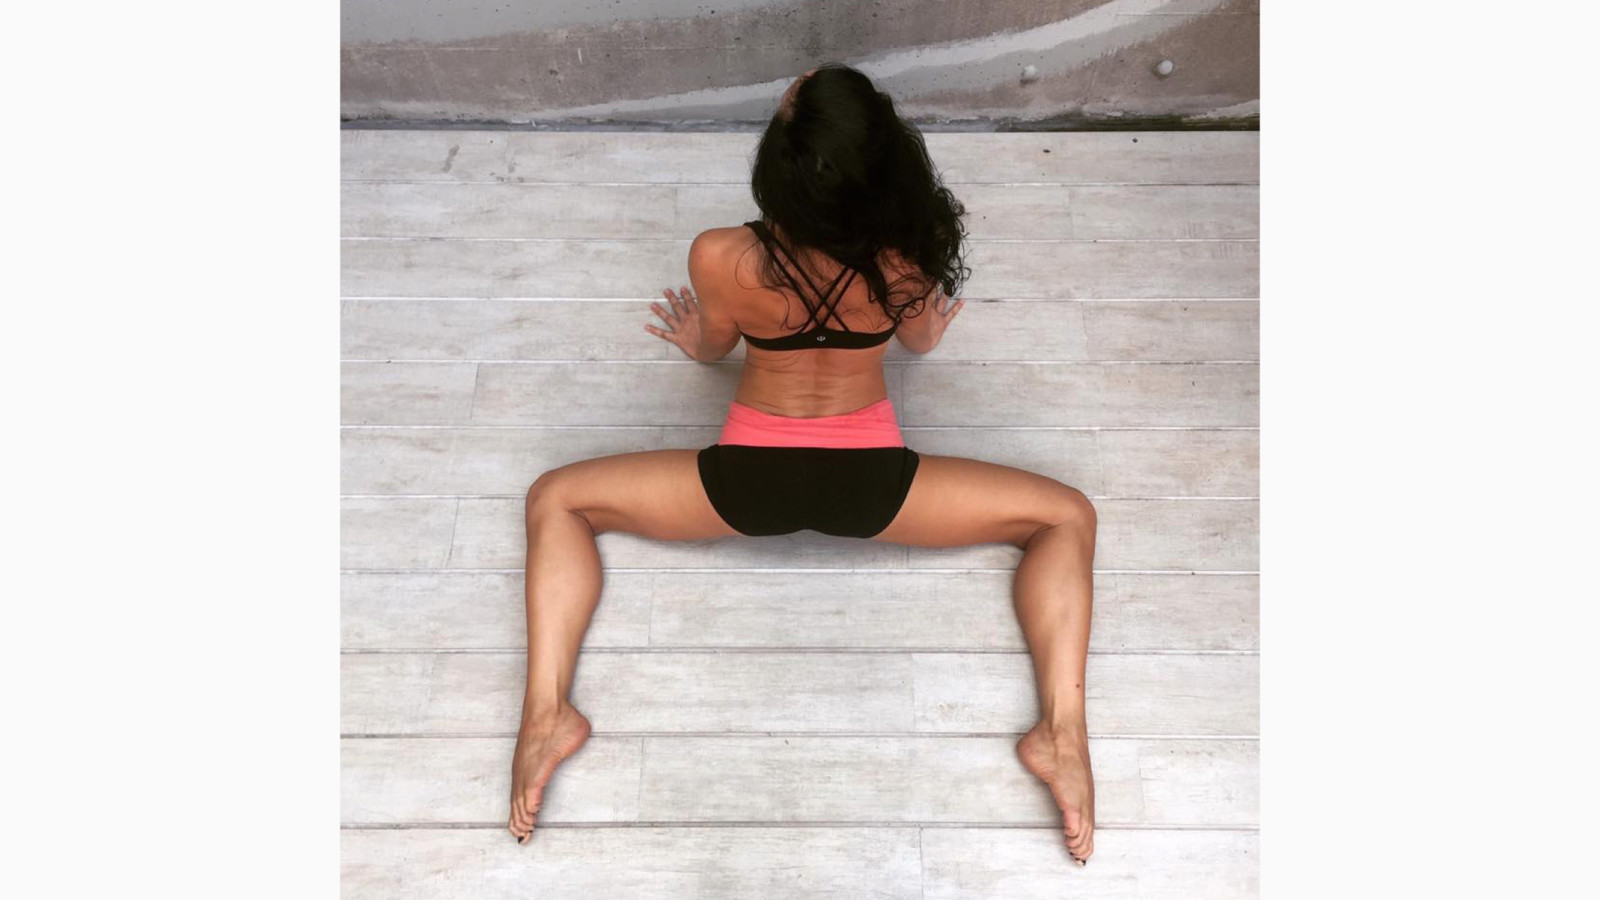
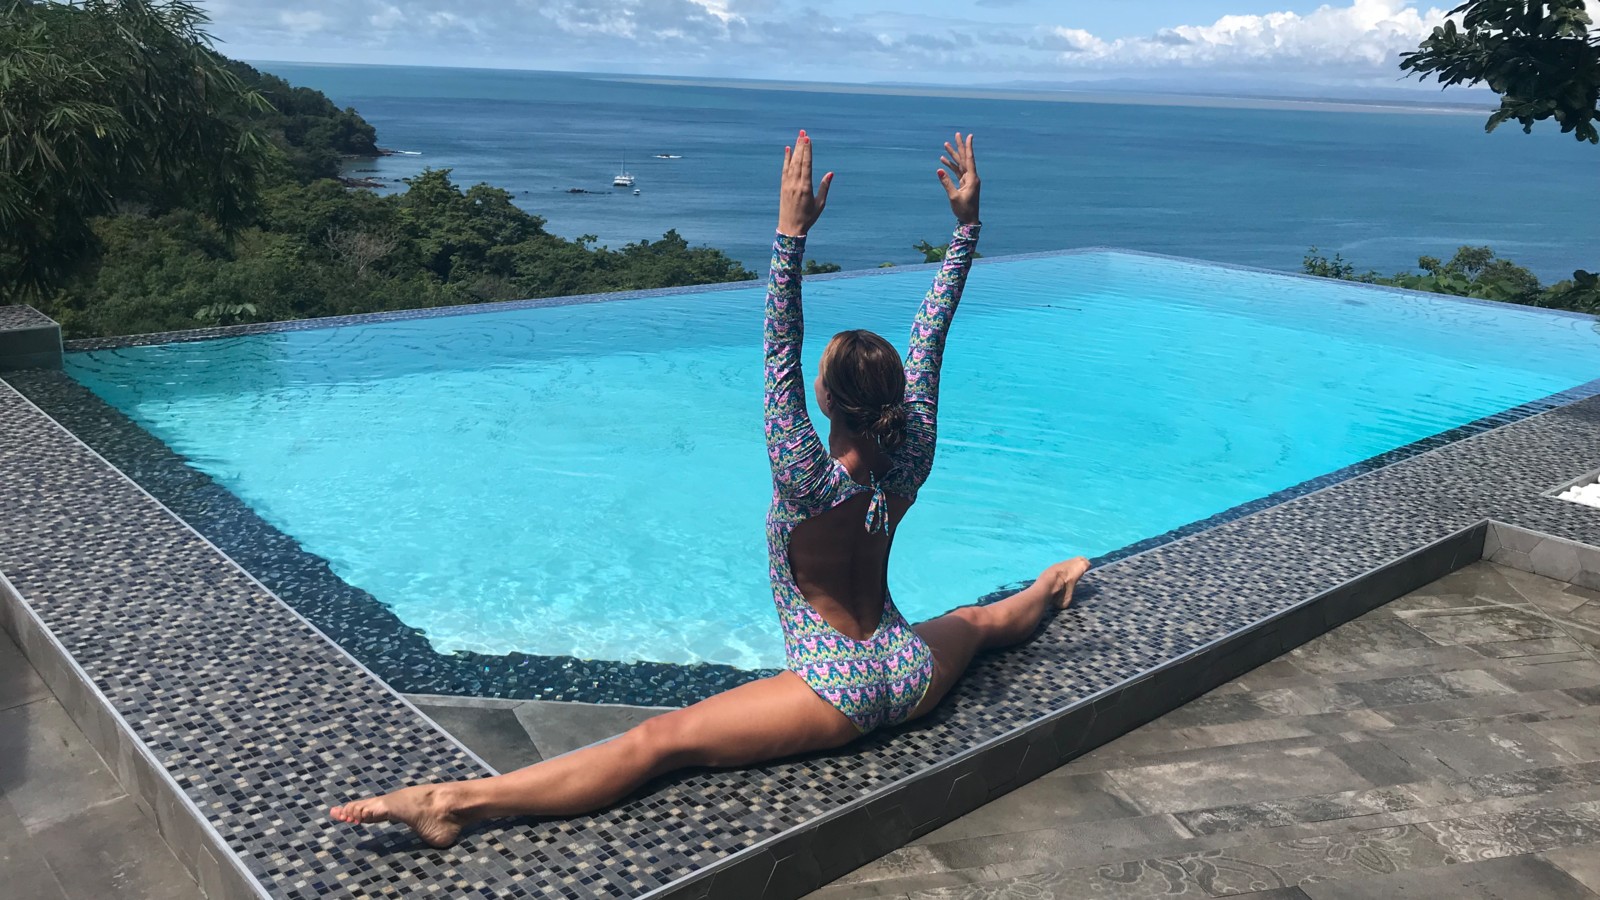
The middle split (also called ‘center split’) is a position where you are extending your legs in opposite directions, forming a 180-degree angle. In the middle split, you are forming a straight line from your ankles to your hips, aligning your ankles with your knees and your knees with your hips.
It’s common that people tell us they are either open in their middle split but limited in their front splits or vice versa—more flexible in their front splits but feel incredible tightness in their middle split. Whatever situation applies to you, know that progress can be made at any point! No matter if your hips are two feet off the ground or two inches from the ground, the middle split is a position you can make progress on piece-by-piece.
Stretching your middle split can benefit the rest of your body’s flexibility by opening your hips, strengthening your glutes and inner thighs, and conditioning your core. Whether you do weightlifting or love to dance it out, training your middle split can help you move more efficiently and effectively. Middle split training is common in martial arts and gymnastics training—and now the secrets are yours! We’ll walk through what to know about your middle split to take your training to pro level.
1. The Warm Up is Key
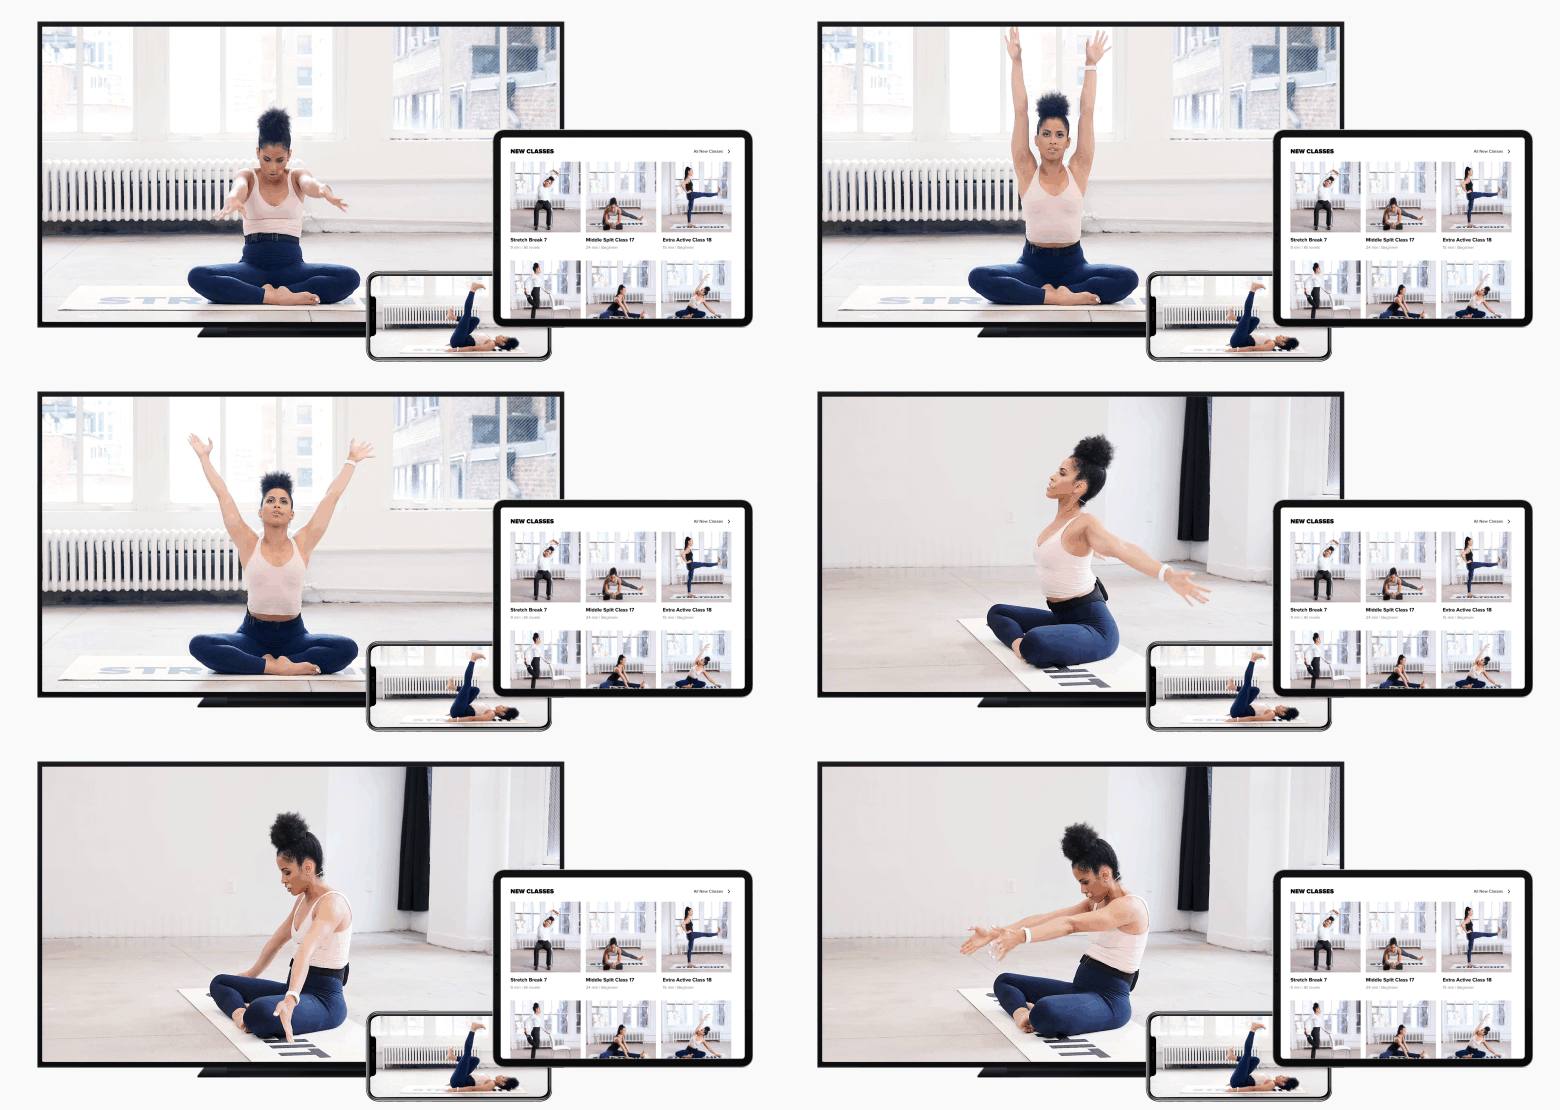
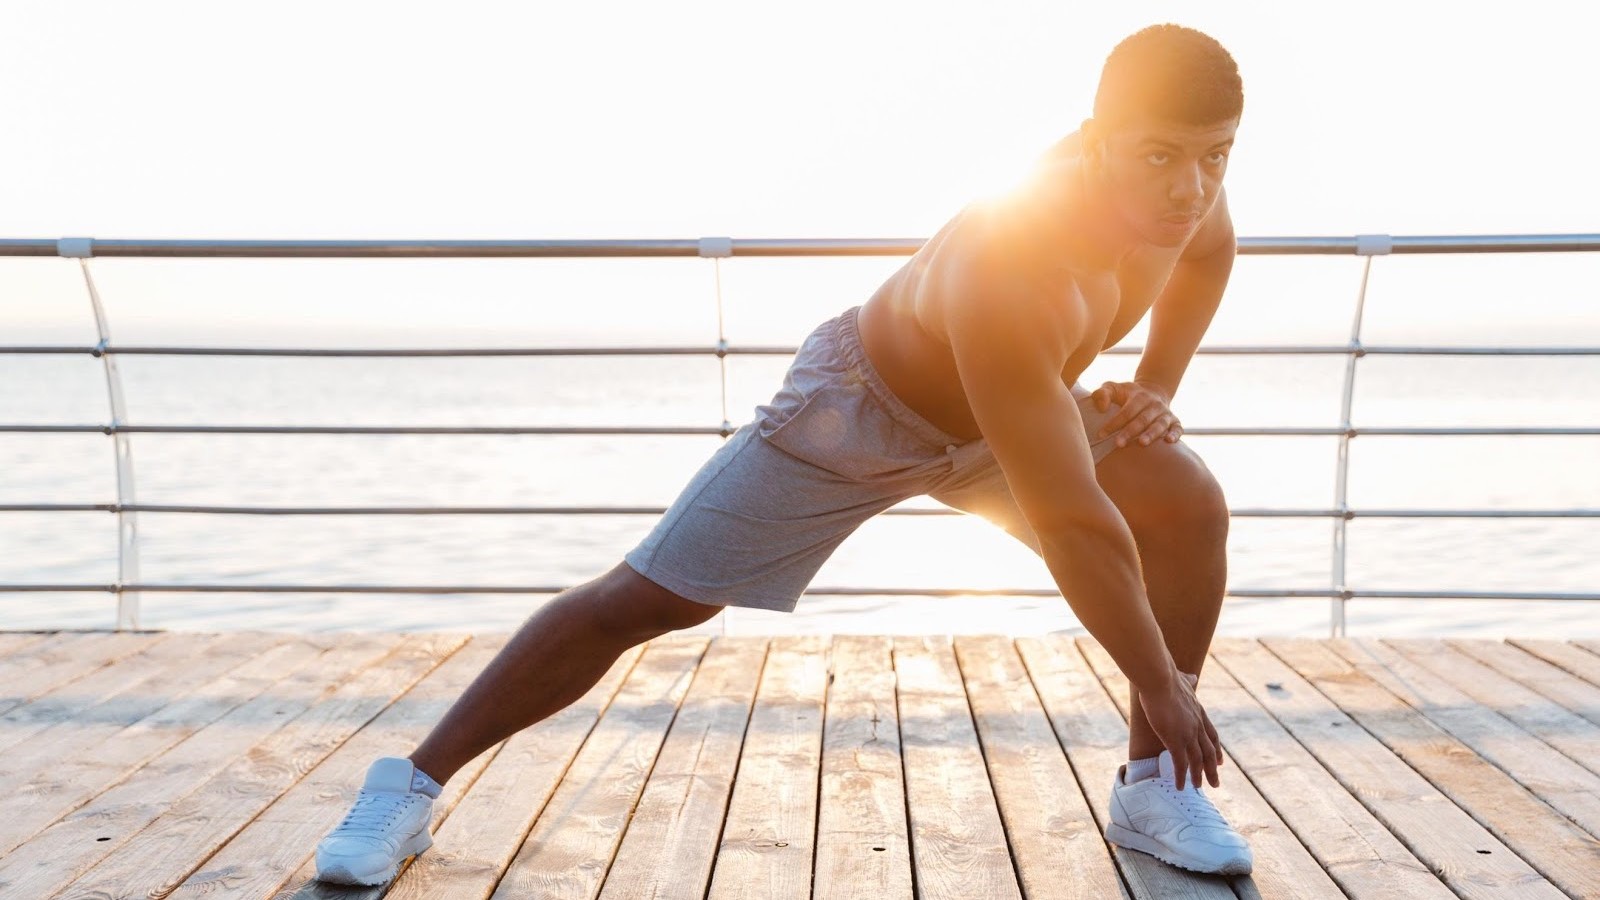
Each STRETCHIT class begins with a thorough warm-up that will prepare you for that training session. Sometimes we need a little extra warm up if the weather is cooler or we haven’t been as active lately, so if you feel like you could use a little bit more or you’re just excited about getting sweaty before stretching, spending extra time warming up can be a big help.
One great approach to getting an extra warm-up is by spending a few minutes doing any kind of cardio activity before you hit your mat. Jumping rope, going for a quick jog, running a few flights of stairs, or doing jumping jacks in your living room are all excellent ways to quickly build heat in the body. The idea is to warm up your muscles so that they are ready for the STRETCHIT exercises that will strengthen, stabilize, and challenge you with deep stretches. It can really help to do a little extra if you feel like your body is tight or particularly sore.
2. Know the Difference Between Straddle and Middle Split
(and when to have your knees facing up versus forward)
When you’re training your middle split, differentiate between the two as:
- sit bones on floor, knees up = "straddle"
- pelvis parallel to the floor, knees forward = "middle split"
While the goal of both of these positions is to stretch the adductors/inner thighs, we are working with gravity in two different ways.
Seated on the ground in a straddle will be a much more stable, controllable position, and is ideal for beginners. Those who are very limited in this position (small v) may feel a hamstring stretch as well since the legs cannot open far enough to stretch the groin. For this, we usually recommend other methods to get that stretch you're looking for, for example: side lunges, "flunge" (half lunge half froggie), and supine straddle with legs on the wall.
Seated in the straddle, your knees should point up. The adductors run from the groin to the medial knee so to stretch them you open your legs like a book. Internal rotation of the femur in this position reduces the stretch whereas external rotation will increase it. When you internally rotate (knees forward) in this position you may create compression in the medial hip/groin, especially as you try to fold. The internally rotating the femurs close off the space for the pelvis to tilt forward, creating more round in the lower back, and making it impossible to fold forward or even sit up straight! Furthermore, this compression may create tightness and strain, which is the opposite of our goal. With knees up or even back (for those with lots of external rotation ROM), you create room for your pelvic tilt, and give yourself access to more ROM potential and adductor stretch. While upright in this seated position, try flexing the feet and playing with the internal and external rotation to get the femurs moving in the hip sockets. For sustained loaded stretches, proper alignment is key, and that means: knees up (thigh bones neutral in their sockets)!
To modify the straddle position, elevate the hips with a block or blanket until you can stack your spine tall. From there, and from there only, fold forward.
On the other hand, in your middle split, your pelvis is parallel to the floor and your hips, knees, and ankles are all in one line (imagine your heels and butt against a wall, or do it!), and the knees face forward. It's the same position and joint orientation as the straddle, but you’ve switched the use of gravity. This will be much more intense since gravity is pulling you directly into your split. We only recommend this to those who can at least comfortably reach the floor with their hands in this position.
In the middle split, it’s going to be pretty impossible to internally rotate since your feet are on the floor, and there's little to no risk if the knees point up in this position (meaning more external rotation). The biggest risk here is knee pain/torque. Step one is to make sure the sit bones, backs of the knees, and heel bones are all in one straight line. The easiest way to make sure of this is tactile feedback: put your butt and heels against a wall as you lower down towards your belly.
Even if properly aligned, some still might feel too much pressure on their knees in the middle split since gravity is pulling them down. The knees are hinge joints and are not meant for lateral flexion (as gravity is suggesting in this position), for this reason we recommend flexing the feet (to activate and support the knee joint) and engaging the quads in this position. Also be sure your pelvis is parallel to the floor, sit bones pointing straight back. If the pelvis is tucked under, there may be extra pressure put on the knees; if this is you, aim for more of a pelvic tilt, slightly arching the low back/sticking your butt out to try and reach neutral; again, pelvic tilt will allow more room for that middle split range of motion. If there is still pressure in the medial knee joint in this position, you can put blocks under your knees (on the floor just above the knees) for support, or choose to do froggie or half-froggie instead.
3. Stretch More Often
Consistency is the key to success! It’s hard to make progress if you only stretch your middle split once a week or every other week. Set up a schedule for yourself to build up your training frequency. One of our experts Dave Tilley, DPT and gymnastics coach, has the following advice: “Specifically for middle splits, it’s about managing the soft tissue of the inner thighs (adductors) and inner hamstring, and doing a lot of targeted hip strengtheners for the deep hip rotators and glutes, and a regular consistent practice every day.” That doesn’t mean going 110% everyday, but if you struggle with your middle split, doing targeted hip stretches every day and STRETCHIT classes 3-4x/week will be a good strategy for making progress.
You can use the calendar function on the App or website to schedule your STRETCHIT classes for the week. Make these classes important dates with yourself that you won’t cancel on! Committing to a regular, consistent practice will help you get the best results.
4. Socks or Sliders!
One of the best tools for middle split training? Socks! Or, any kind of small towel that you can put under your feet to use as a slider. The socks or sliders will easily allow your feet to slide along the ground, helping you get deeper in the stretch when your hips and legs are ready to go there.
Make sure that you are staying engaged through the legs and connected to your core as you slide out. As long as your muscles are fully activated, you will slide slowly and safely. Avoid sliding too quickly. You can use your arms to control the slide, or for a little extra support, support yourself with yoga blocks. Maybe someday your legs will be strong and flexible enough to slide down and up in your middle splits without the use of your arm support. It’s possible! We’ve all seen that crazy Van Damme split.
5. Spend Extra Time in Your Straddle or Middle Split
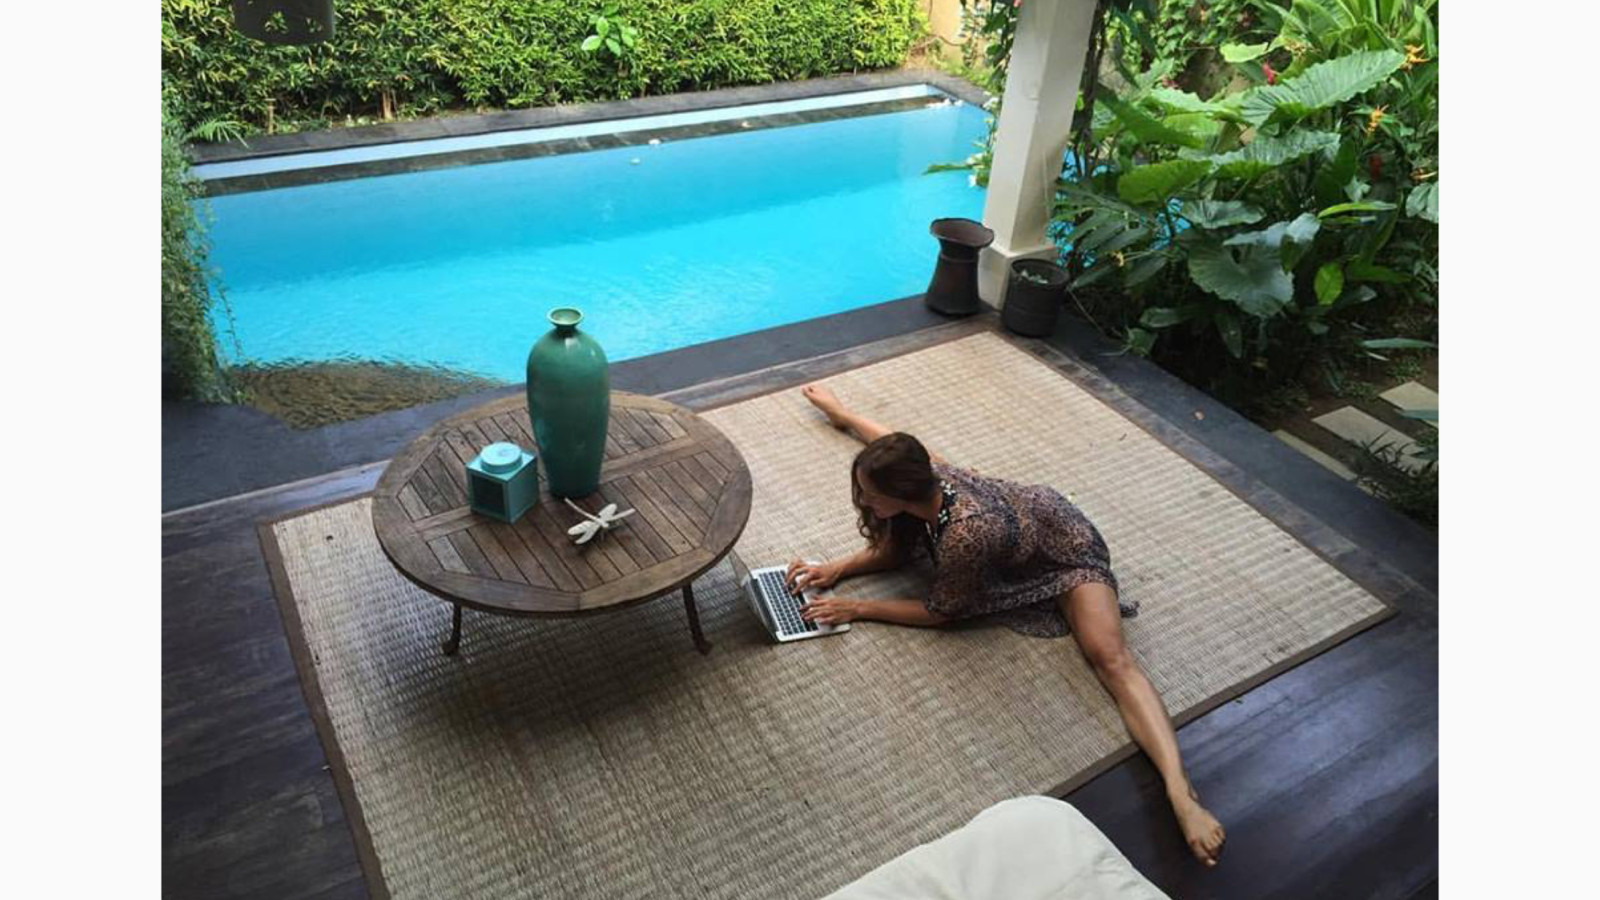
Have some emails to answer in the evening? Sit on the living room floor in a straddle as you craft your responses. Watching Netflix on your laptop? Same deal! Finding extra time to sit in your straddle can help increase your body’s stretch tolerance, slowly building a new flexibility baseline over time. Or if you already have your middle split, go for the same activities but in a middle split!
If straddle is still a position you’re working on, grab a pillow or a few yoga blocks and sit on the blocks or pillow with your legs are open in straddle. You can set your computer up at a comfortable typing or viewing height by adding a few yoga blocks underneath the computer as well (or stack some books or use a coffee table—anything that elevates it). Sitting in our straddle while taking care of computer tasks is one of our favorite ways to add flexibility to our work day—it’s one of those tricks to sprinkle some bendiness into your normal routine.

6. Respect the Process
We love this quote from STRETCHIT co-Founder, Natasha: “Flexibility doesn’t come easily. It took me six years to get my middle split. Patience and consistency is the key...and a good training program, of course ;)”
When you have your eyes on a goal, it’s easy to keep caught up with pushing to the finish line. Just remember that once you reach that goal, you’ll set your eyes on something even more ambitious. That’s just human nature! We inherently love growth, learning, and achievement. Take a deep breath, and let go of your timeline. Know that if you put in the consistent work, you will be rewarded with physical and mental rewards little-by-little.
If your body ever feels pain in a way that doesn’t quite seem right, respect the signals your body is sending to protect you! We’d recommend that for any pain outside the realm of regular training discomfort, to ease off immediately and consult a professional who can provide you with a hands-on assessment. To be in this for the long run, take the best care of your body that you can! Injuries are messages from our bodies that we need to make a big change in our methods.
Commit to the journey of lifelong flexibility. Stretching progress is most sustainable if it can be practiced in the long run. If you start now, you’ll be amazed where 1, 2, 3, 4, 5 years can take you! You may not even recognize yourself in your ‘before’ photos.
7. BONUS tip! Stretch with a friend (or a wall!)
Getting a little help from a friend can help boost your middle split training. First of all, it’s sometimes hard to see our alignment when you’re in the middle of it (no pun intended!). Having a friend’s eyes to check your ankle/knee/hip alignment can be what you need in order to position yourself perfectly.
If you’ve been training your middle split for a while and feel confident in your control and engagement, your friend can help provide gentle pressure on your hips. They can place their hands on your glutes and lightly apply pressure, encouraging your hips to drop softly toward the ground. You can also have your friend provide this assistance when you’re in a frog pose. As mentioned above, use socks or sliders under your feet or knees so that you can smoothly extend and lengthen.
You can also use a wall for deepening your middle split in two ways: either facing the wall and laying on your back, or with your hips to the wall and facing away, belly-button towards the floor. If you’re laying on your back, scoot your hips to the wall sideways and then open and extend the legs against the wall. Place your hands on your inner thighs and stay active in the glutes to encourage the legs to open. If you’re facing away from the wall, start standing with your back to the wall, and then slowly slide the feet away, extending into middle split while pressing your hips and feet into the wall to stay connected.
We hope these tips have given you more inspiration and guidance on your middle split journey. Happy stretching!
"Since time is the one immaterial object which we cannot influence—neither speed up nor slow down, add to nor diminish—it is an imponderably valuable gift.”
