How to Do Pigeon Pose
Proper Alignment and Modifications to Advance your Practice
We've had a lot of questions about Pigeon Pose: How to set it up? What's the proper alignment? How to modify it for beginners, and how to progress in it? Whether you are a beginner or you've been training for a long time, this can really be a challenging pose. Here are some tools for you to attack this pose in a way that benefits you most.
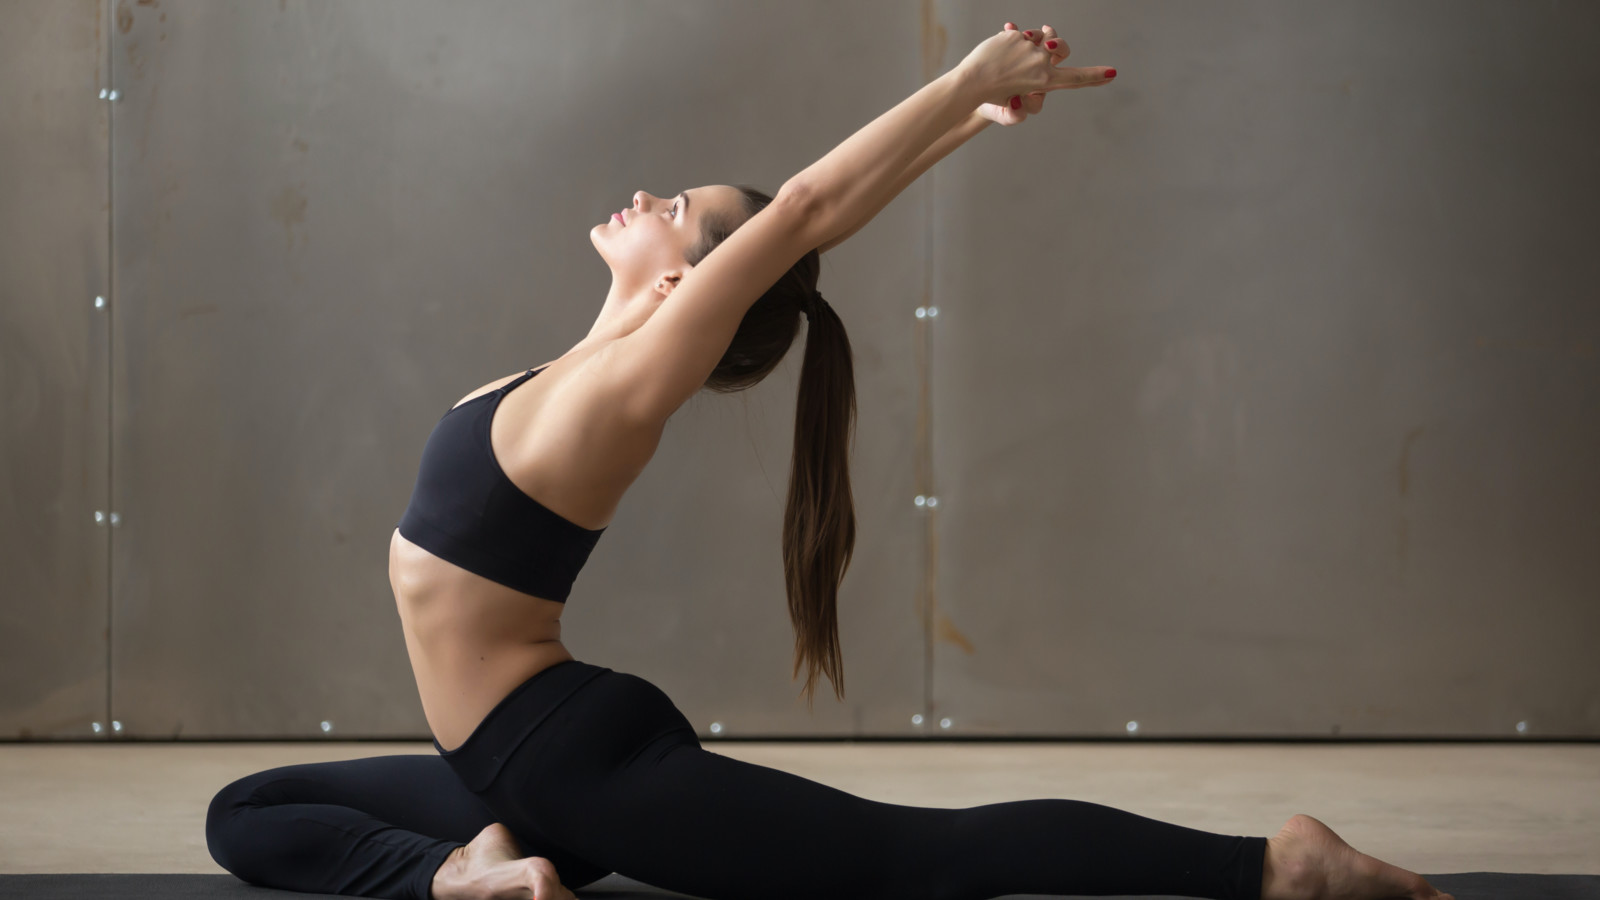
Lifted Pigeon Position
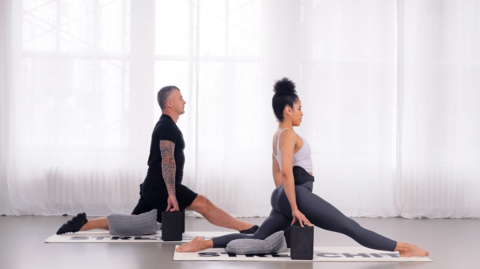
Lifted Pigeon is an excellent way to start working on the pose because it allows you to have a lot of control over how much pressure you're putting into your lower body. Grab yoga blocks, a blanket, or a bolster to help support your position. Start on your hands and knees. Take your blocks and put them under your hands so that you have a little extra room. Slide your right leg forward so that your right knee is in line with your right wrist. Spin the leg, turn it out so that the right heel is in line with your back leg hip.

From there, push into your hands, tuck your back toes, roll the left hip forward and adjust to find what position is the best for you. Tucking the back toes will give you leverage. You'll be able to control your shape better. It'll also tell you that your back leg is square. Start to walk your hands back. Keep pulling your back leg forward and your front hip back to square your hips even more. In this Lifted Pigeon, you'll be able to put a lot of weight on your front shin. This will help you with the alignment. Don't stress out about stretching the front hip yet. Use the space under your hips to get into a good position.

Classic Pigeon
As you get more comfortable in your Lifted Pigeon pose, start to open your front leg. The goal is to have the front leg shin parallel to the body. This position isn't accessible for most of us. So if this is our goal, how can we achieve it? Start to open your front leg bit by bit. Think of it as your progression. It's ok for your front knee to go to the side a bit. You don't want it so far out to the side that you're not really feeling the stretch anymore, but it doesn't need to be directly in line with your hip socket. When your leg reaches the 90-degree angle, you need to flex your foot.

Forward Fold in Pigeon
To really get into the front hip stretch, start moving your torso forward. Keep your hips square. Feel the weight on your front shin. Leave your hands on blocks or come onto your forearms. If you feel comfortable, put your forehead on the block or on the floor.

Backbend in Pigeon
Regardless of where you are in your Pigeon stretch, you should keep your weight even between your legs. Don't go off to the side. It's not beneficial, because you won't achieve a stretch in that position. Your hips shouldn't splay. Square your hips, pull your front leg back, and your back hip forward. Grab a block and put it under your front hip. You might use two blocks or turn the block on a different angle depending on how high you are off the ground. Just make sure you are in a stable position. Your goal is to get to the outer hip.
Having a block under your hip reduces the force of gravity on the hip. If you feel good in this position, try to perform a backbend. Make sure your hips stay square when you bend, and your weight is evenly distributed between your legs.


